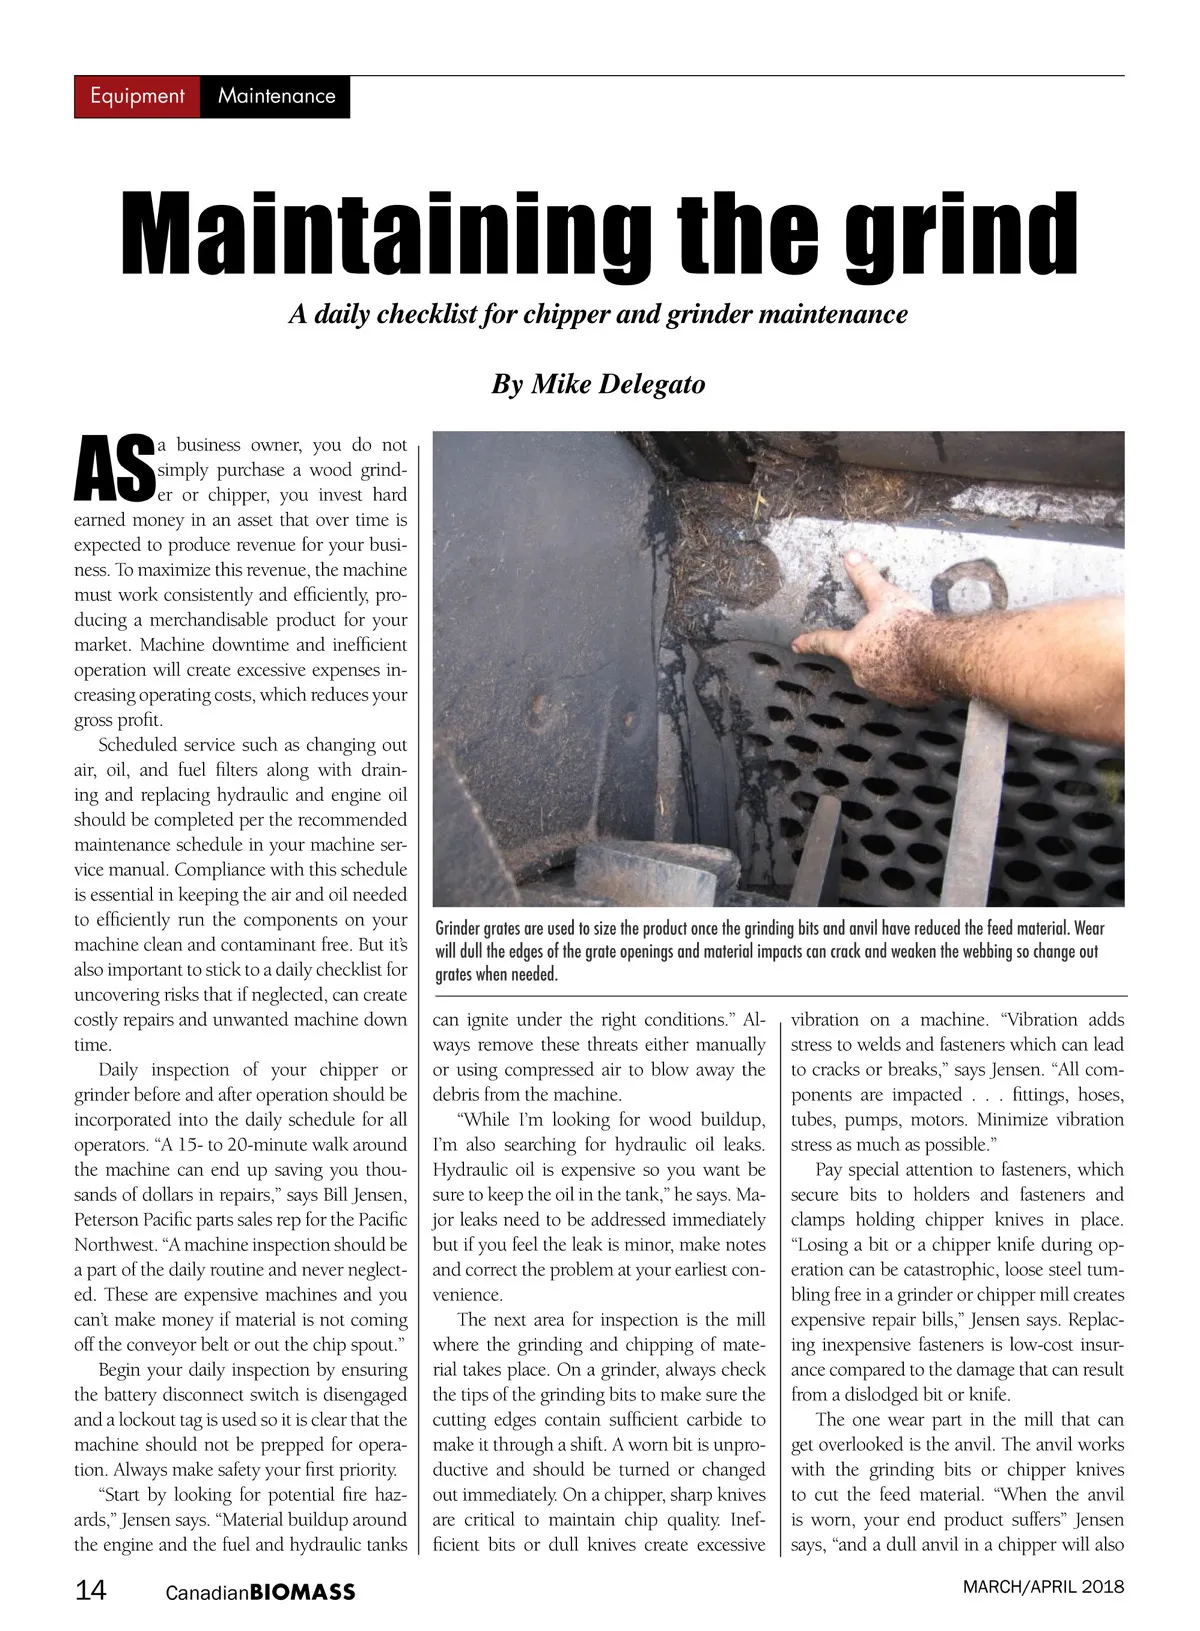
Equipment Maintenance Maintaining the grind A daily checklist for chipper and grinder maintenance By Mike Delegato a business owner, you do not simply purchase a wood grind-er or chipper, you invest hard earned money in an asset that over time is expected to produce revenue for your busi-ness. To maximize this revenue, the machine must work consistently and efficiently, pro-ducing a merchandisable product for your market. Machine downtime and inefficient operation will create excessive expenses in-creasing operating costs, which reduces your gross profit. Scheduled service such as changing out air, oil, and fuel filters along with drain-ing and replacing hydraulic and engine oil should be completed per the recommended maintenance schedule in your machine ser-vice manual. Compliance with this schedule is essential in keeping the air and oil needed to efficiently run the components on your machine clean and contaminant free. But it’s also important to stick to a daily checklist for uncovering risks that if neglected, can create costly repairs and unwanted machine down time. Daily inspection of your chipper or grinder before and after operation should be incorporated into the daily schedule for all operators. “A 15-to 20-minute walk around the machine can end up saving you thou-sands of dollars in repairs,” says Bill Jensen, Peterson Pacific parts sales rep for the Pacific Northwest. “A machine inspection should be a part of the daily routine and never neglect-ed. These are expensive machines and you can’t make money if material is not coming off the conveyor belt or out the chip spout.” Begin your daily inspection by ensuring the battery disconnect switch is disengaged and a lockout tag is used so it is clear that the machine should not be prepped for opera-tion. Always make safety your first priority. “Start by looking for potential fire haz-ards,” Jensen says. “Material buildup around the engine and the fuel and hydraulic tanks AS Grinder grates are used to size the product once the grinding bits and anvil have reduced the feed material. Wear will dull the edges of the grate openings and material impacts can crack and weaken the webbing so change out grates when needed. can ignite under the right conditions.” Al-ways remove these threats either manually or using compressed air to blow away the debris from the machine. “While I’m looking for wood buildup, I’m also searching for hydraulic oil leaks. Hydraulic oil is expensive so you want be sure to keep the oil in the tank,” he says. Ma-jor leaks need to be addressed immediately but if you feel the leak is minor, make notes and correct the problem at your earliest con-venience. The next area for inspection is the mill where the grinding and chipping of mate-rial takes place. On a grinder, always check the tips of the grinding bits to make sure the cutting edges contain sufficient carbide to make it through a shift. A worn bit is unpro-ductive and should be turned or changed out immediately. On a chipper, sharp knives are critical to maintain chip quality. Inef-ficient bits or dull knives create excessive vibration on a machine. “Vibration adds stress to welds and fasteners which can lead to cracks or breaks,” says Jensen. “All com-ponents are impacted . . . fittings, hoses, tubes, pumps, motors. Minimize vibration stress as much as possible.” Pay special attention to fasteners, which secure bits to holders and fasteners and clamps holding chipper knives in place. “Losing a bit or a chipper knife during op-eration can be catastrophic, loose steel tum-bling free in a grinder or chipper mill creates expensive repair bills,” Jensen says. Replac-ing inexpensive fasteners is low-cost insur-ance compared to the damage that can result from a dislodged bit or knife. The one wear part in the mill that can get overlooked is the anvil. The anvil works with the grinding bits or chipper knives to cut the feed material. “When the anvil is worn, your end product suffers” Jensen says, “and a dull anvil in a chipper will also MARCH/APRIL 2018 14 Canadian BIOMASS
Canadian Biomass March April 2018: Page 14